
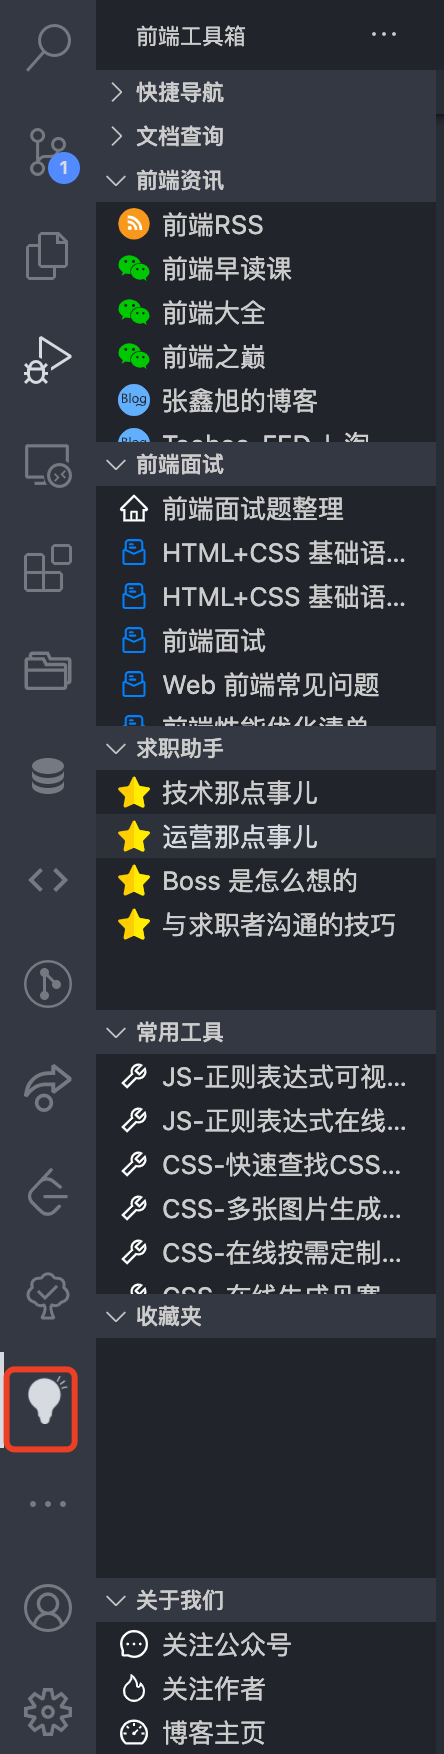
趁着元旦假期最后一天,初次尝试了一下vscode插件开发,写了一个前端工具箱作为日常方便使用,记录一下
在vscode插件里面搜索:前端工具箱。或打开该网址安装即可 https://marketplace.visualstudio.com/items?itemName=poetries.fe-tools
搭建开发环境
我们先准备开发环境。我使用的操作系统:mac,首先确保安装了VS Code、Node.js 和 Git:
code -v |
https://code.visualstudio.com/api/get-started/your-first-extension
npm install -g yo generator-code |
使用yo code指令初始化VSCode插件项目,然后需要回答一些简单的配置问题
yo code |
运行插件
使用 VS Code 打开项目,在编辑器内部,按F5,编译并打开一个“扩展开发宿主机”窗口运行调试插件。为了叙述方便,把新打开的窗口称为运行窗口,旧窗口称为编辑窗口。在新窗口的命令面板(
Ctrl+Shift+P) 运行 Hello World 命令。看到右下角的 Hello World 通知信息了吗?恭喜你已经运行了一个自己编写的插件!

调试插件
使用 VS Code 调试扩展插件很容易。这里演示一下如何设置断点。在编辑窗口打开 extension.js 文件, 点击编辑器行号左侧的边栏设置断点。在运行窗口 命令面板输入 Hello World 命令运行插件,命中断点。

调试webview
按F5打开调试模式,在webview页面,按
command+shift+p选择open webview


项目解析
接下来我们来深入研究一下 helloworld 插件。 helloworld 的功能很简单,就是用户可以在命令面板执行 Hello World 命令,输出 Hello World 信息
从实现的角度来看,helloworld 插件做了三件事:
- 注册激活事件
onCommand:extension.helloWorld:插件在extension.helloWorld触发时被激活。 - 注册贡献点
contributes.commands:extension.helloWorld:在命令面板中使能hello world命令,并将其绑定到extension.helloworld。 - 调用
VS Code API commands.registerCommand给注册的命令extension.helloWorld绑定处理函数。
基本概念
简单解释一下上面提到的三个概念:激活事件、贡献点和接口:
- 激活事件,译自 Activation Events,在配置清单 package.json 中静态声明,其实就是 JSON 数组
activationEvents的值。当激活事件发生时,声明的扩展将被激活。以下是目前所有可用激活事件:onLanguage、onCommand、onDebug:onDebugInitialConfigurations、onDebugResolve、workspaceContains、onFileSystem、onView、onUri、onWebviewPanel、*; - 贡献点,译自
Contribution Points,在配置清单package.json中静态声明,贡献点其实就是VS Code 的可以扩展的功能点。以下是目前所有可用的贡献点:configuration、configurationDefaults、commands、menus、keybindings、languages、debuggers、breakpoints、grammars、themes、snippets、jsonValidation、views、viewsContainers、problemMatchers、problemPatterns taskDefinitions、colors、typescriptServerPlugins、resourceLabelFormatters、contributes.configur。 - VS Code 接口:可以在扩展代码中调用的一组 JavaScript API。链接中列举了所有可用的API,熟悉基本的,其他的用到的时候按需查找就行了。
一般来说,插件都会使用到这三个概念:激活事件、贡献点和 VS Code API。接下来我们分析一下 HelloWorld 示例的源代码,看看它是如何使用这些概念的。
JavaScript 插件目录结构

VS Code 插件的目录结构很简单,根据命名大概就能知道作用。不同项目类型目录结构可能会有很大不同。对于 JavaScript 类型的项目来说,最重要的就是
package.json和extension.js。
清单文件:package.json
每个 VS Code 插件都必须有一个用来描述插件的清单文件 package.json。VS Code 的清单文件是声明式的 JSON 格式,用于声明插件名(name)、插件展示名(
displayName)、描述信息(description)、版本( version )、引擎( engines )、类别( categories )、依赖( devDependencies )、脚本 (scripts)、贡献点( contributes )、入口文件( main )、激活事件( activationEvents )等。
下面是 helloworld 插件的清单文件内容,为了便于理解,我加了一些注释。
{ |
插件入口文件:extension.js
插件的入口文件是在清单文件中指定的,如果项目比较大,源文件比较多,也可以统一放在 src 目录里。
// The module 'vscode' contains the VS Code extensibility API |
一个插件必须在其主模块实现并导出
activate()和deactivate()函数。
activate()函数 初始化插件。当任何指定的激活事件发生时,VS Code 会调用并且只调用它一次。deactivate()函数 清理插件。如果清理过程是异步的,deactivate()函数必须返回一个 Promise 对象。如果清理运行同步,则deactivate()函数返回undefined。
Webview
插件可以分为多种,比如主题样式类型的插件,图标插件,语言支持类型的插件。Webview类型的插件只是Vscode插件的一个大类。大致的实现大家可以参考文档,文档的示例使用的是html字符串,但这不适合复杂的Webview的开发。在GameNews这个插件中,模版部分,我使用了vue以及pug。
// 静态资源的目录。绝对路径,并且使用了vscode-resource协议 |
本地资源的使用
Webview中,我们会需要使用本地的css,js文件。虽然可以使用行间js或者行间样式,但是总归不太好。使用本地文件,就会涉及的静态文件路径的问题,在VScode中,我们需要使用绝对路径。并且是vscode-resource协议的路径。
const webviewDir = path.join(context.extensionPath, 'views'); |
Webview与插件通信
Webview相当于一个网页,而网页是无法调用一些本地功能的。但是插件本身是运行在node环境的,而已我们可以通过插件实现一些在网页中无法完成的功能。Webview如果通知插件呢?这涉及到了Webview于网页的通信机制。
下面是GameNews插件的例子,我通过事件将游戏新闻的url,发送给插件。插件会调用系统的命令,使用本地的浏览器打开url。
// webview |
// 插件 |
更多参考文档:https://code.visualstudio.com/api/extension-guides/webview
打包、发布和升级
如何让别人也能使用自己开发的插件呢?这和移动应用开发一样,有两种方式:
- 把它发布到 VS Code 插件市场,这样其他人就可以找到、下载和使用你的插件。
- 或者,可以将插件打包为可安装的
vsix格式,并与其他用户共享。
vsce,简写自 Visual Studio Code Extensions, 是用于打包、发布和管理 VS Code 插件的命令行工具
先安装 Node.js ,然后运行 npm install -g vsce 安装 vsce。在插件的根目录下运行 vsce package 打包插件,运行 vsce publish 发布插件。
npm install -g vsce |
vsce create-publisher poetry # 这一步先创建一个发布账号,需要用到token,看下面步骤获取token |
发布插件到 VS Code 插件市场,需要注册开发者账号。有关如何发布插件的内容很简单,可以参考官方文档这一部分的内容:https://code.visualstudio.com/api/working-with-extensions/publishing-extension
在Visual Studio Team Services 创建一个账号
根据账号的名字访问主页,例如我的名字是bingou-ms,主页链接就是
创建Personal Access Token


需要将Accounts设置为All accessible accounts

那么如何升级已经发布到插件市场的插件呢?修改/增加版本号,然后再执行
vsce publish即可。
安装vsix文件
可以直接安装vsce package的vsix文件,方便在本地进行调试。
code --install-extension vsix文件名 |